
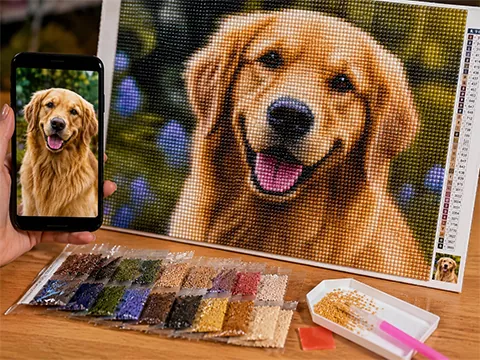
How to diamond paint
Diamond painting is the calm, screen-free craft of placing hundreds of tiny, sparkling resin “drills” onto a pre-printed adhesive canvas to build a shimmering picture. If you can match a symbol to a colour, you can do this — here’s exactly how.
What’s in your kit
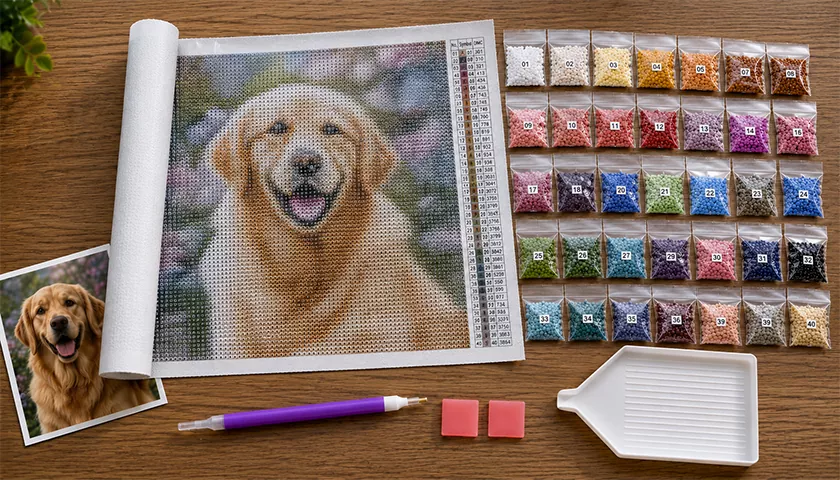
Every Art Diamond Paintings kit arrives complete. You’ll find a pre-printed, pre-glued adhesive canvas sealed under a protective film, bags of colour-sorted resin drills (with a little extra of each colour), a comfort-grip applicator pen, a lump of placing wax, a drill tray, and a symbol chart that maps each colour code to its spot on the canvas.
Step by step
Set up your space
Work on a flat, well-lit table. Pour one colour of drills into the tray and give it a gentle shake so they turn flat-side down, ready to lift.
Read the chart
Each symbol on the canvas matches a colour code. Start in one corner (bottom is easiest so you don’t rest on finished areas) and pick one colour to work at a time.
Peel a small section
Fold back only a little of the protective film at a time. The exposed glue stays tacky; keeping most of it covered stops dust and drying out.
Wax, lift, place
Press the pen tip into the wax, then touch it to the flat top of a drill to lift it. Set the drill onto its matching symbol, faceted side up. Repeat.
Press & align
Every so often, lay the film back over your work and press with a book or roller to bed the drills firmly and keep rows straight.
Seal & display
When it’s complete, press it flat, optionally apply a sealer/brush-on glue for permanence, then frame or mount it. Done.
Square drills or round drills?
Both are included as full-drill on most of our kits — the choice is a matter of finish. Square drills click together edge-to-edge for a crisp, fully-tiled, no-gaps look that reads sharp from across the room. Round drills are a touch quicker and more forgiving to place, with a softer, slightly sparklier surface. Beginners often start round; makers who love a clean, gallery-flat finish tend to prefer square. Not sure what size to pick? Our size guide walks you through it.
Beginner tips that make a big difference
- Work one colour at a time — it’s faster and far less error-prone than jumping around.
- Keep a “checkerboard” edge when filling large single-colour areas to keep your rows aligned.
- Don’t peel it all at once. Exposed glue attracts dust and dries. Small sections only.
- Store spare drills labelled by their code — handy for touch-ups (and we resend any you run out of, free).
Quick fixes
Canvas won’t stay flat? Lay it under heavy books overnight, or warm it gently with a hair-dryer on low and press. Glue lost its tack? A dab of clear craft glue under stubborn drills works. Ran out of a colour? Email a photo to [email protected] — we resend replacement drills free, for the life of your kit.